Calibrating
screen to printer
It is important to calibrate your screen's colour to your printer,
as otherwise the print is unlikely to match what you saw on the screen and much
ink and paper will be wasted using trial and error adjustments. I use a colour
munki on an EIZO screen. ( It is important that you purchase a screen that can
display as many colours as possible within your budget. ) Below are shown the
steps for calibration. I leave the screen on for an hour to "thoroughly
warm up" and settle. I usually repeat the calibration every 100 hours for
the screen and whenever a new batch of paper is purchased for the printer or
its ink is replaced.
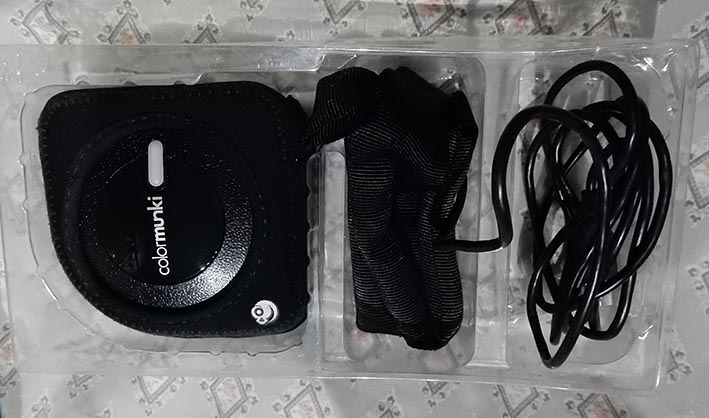

above shows the kit on the left and the software "ColorNavigator
6 " on the right. The software was supplied with the monitor, but color
munki also provide some.


Running the software brings up the window above left. I choose
what I want to do- in this case calibrate the screen to Adobe RGB 1998 to match
the camera sensor's response. The window changes to the one on the right asking
me to arrange for the color munki sensor to calibrate itself against it internal
light source. The munki is powered and communicates with the software via a
computer usb port.

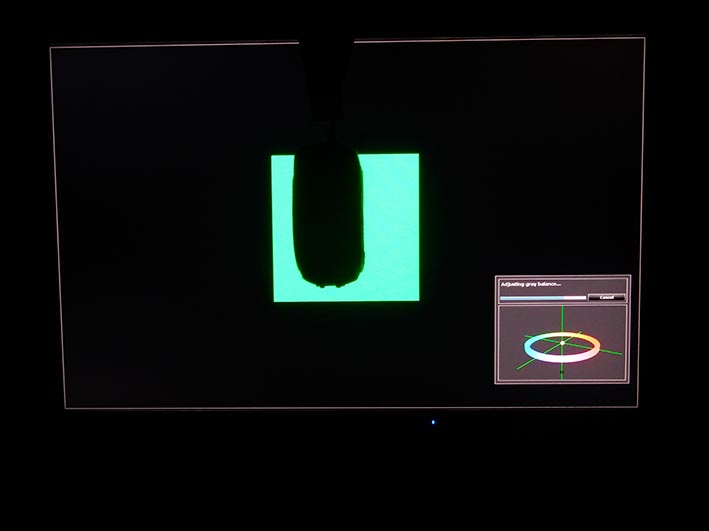
As soon as the "calibration" has been done and the
sensor changed to the horizontal "measure" position The screen changes
to show where to place the sensor (left above) The black shadow on the right
image is the color munki over the correct area and the progress panel is shown
to its lower right of the screen window.
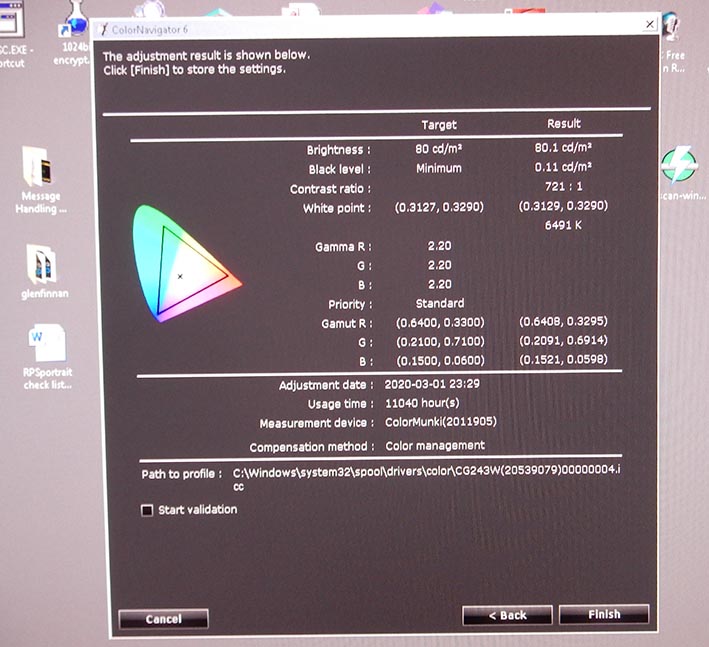

When the adjustment is finished and saved. A colour chart is
printed on the selected printer AND using the paper to be colour matched (the
top rows of colour patches), then they are measured by the munki and another
set of patches (the lower image) is printed to refine the calibration. They
are then scanned in and the process is complete. Usually the equipment you choose
to buy will come with a video to demonstarte its use.